Friday, September 6, 2013

First Five For Friday

Well, I'm taking the plunge and doing my first Five for Friday and linking up to Doodlebugs!! (I sure hope I'm doing it right!!)


It sure seems like it would be easy enough, so here it goes...

We've been working on states of matter in my classroom and, yes, I teach Pre-K, so trying to explain the difference between solid, liquid, and gas have been... interesting :)

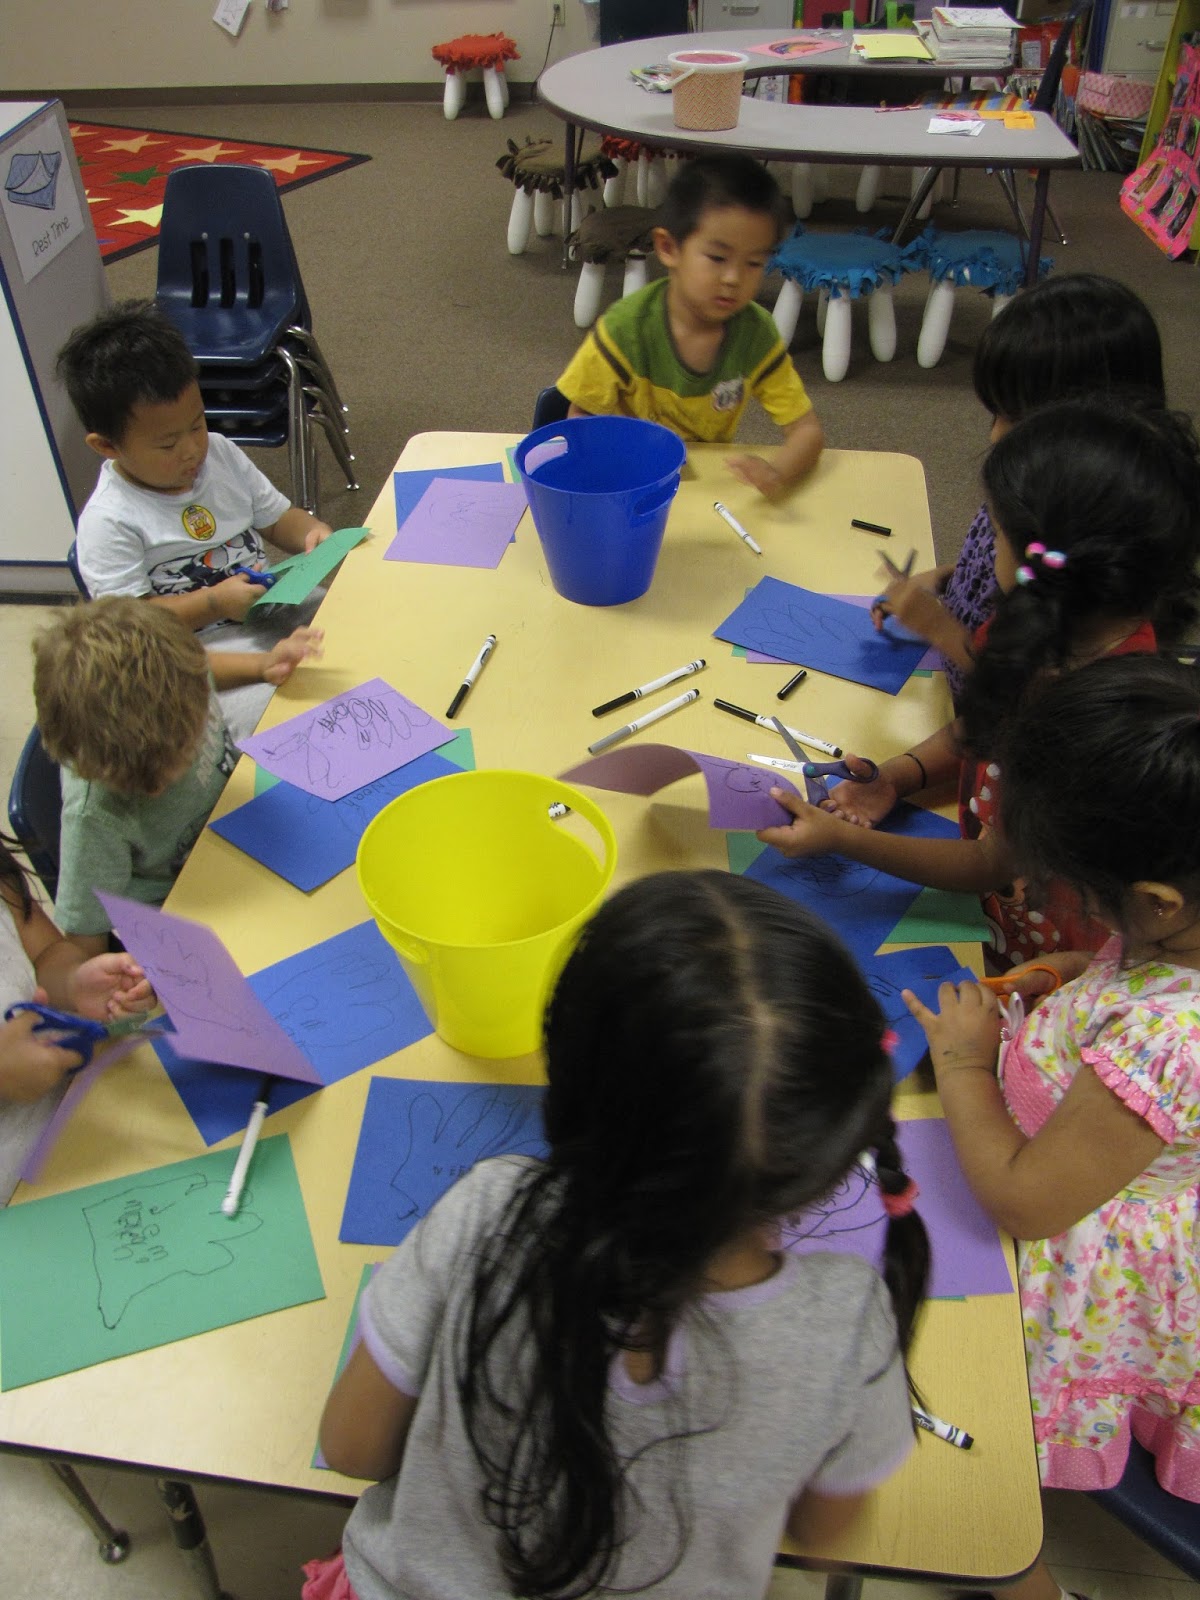
So we started out with a little cooking/science activity that the kids seemed to LOVE.


We started it out by making lemonade and blue ice cubes (of course they had to predict what would happen when the blue water was put in the freezer). Then, when snack rolled around, we pulled the lemonade out of the fridge and the ice out of the freezer and talked about how the fridge isn't cold enough to freeze things but how, in the freezer, the molecules (yes, I'm teaching them the word molecule!) group so close together and move so slow that it turns into a solid. Then they got to put lemonade and an ice cube in their cup and predict what would happen. Of course they said melt but, what they hadn't counted on was what would happen when it melted... the blue ice cube mixed with the yellow lemonade to make green lemonade!!

 
They were a little weary to try it but, after a few brave ones did and realized that it was the same, they loved it!


Then we talked about where we live (we're working on our My Community unit) so the kiddos had to write their city, state, country and planet on paper (the words were already there, they just had to trace), cut them out, and glue them in order on each of the colored flaps with the smallest (their house) on the red flap all the way to the largest (their planet) on the blue flap. It was pretty time-consuming (like one day activity turned into two) but they got it done and they were adorable! So adorable, in fact, that they took them home that afternoon before I got a chance to get any pictures :(


On of our biggest things we've been working on is our number of the week. I have a set of laminated tagboard posters that I hole-punched and hung from a curtain rod on my wall so we could reuse them each week and, one of my favorites is my number poster. Each week, when we introduce our new number, we use our number poster and the kiddos help me fill out the poster with the various representations for the number (ten frames, base ten blocks, tally marks, objects, numeral, number word, number before, number after, and addition sentences equalling 4). They are getting so good at them!! We then of course use the corresponding number booklets to reinforce the info (found here).


And the best part? It was a payroll Friday for us which means... payroll breakfast!! I have a sign-up genius set up for all the staff in the building and, each staff member signs up for 2 different payday dates (there's 5 slots for each date so they're not on their own) and then, each payroll Friday, we all get breakfast!! Not a bad way to end an INCREDIBLY long 4-day week!!

Have a wonderful weekend!
Katie


Tuesday, September 3, 2013

Wow, it's September!

So, it's a few days late, I know. But somehow, I missed the beginning of the month. Might have been because it was a Sunday. Might have been because it was Labor Day weekend. Be that as it may, I figured it was better late than never to link up with Oh Boy, Third Grade for the monthly "Currently":


Yep, I spent the whole day (about 12 hours) cleaning the house. Thankfully I have an awesome husband that served as referee to our girls so I could try to keep my motivation up and actually get something done. Why 12 hours of cleaning? Well, I used to have a crafty room in our spare bedroom and never actually went in there to do crafty projects so I figured, if I moved it out onto the tile area in our girls' playroom, I could keep an eye on them and not feel so isolated being in a completely different room. Plus I could at least watch TV with them. So I moved most of the stuff out of the spare room except for my fabric which basically needs a room of its own. Unfortunately, after moving all that, the spare room turned into a storage room and I found myself still bringing stuff into the living room to work on so I didn't have to watch the Disney Channel for hours on end. So the goal of the day was to clean up both areas and make the spare room a spare room again. The results? I'm about 75% of the way done :( Oh well, better than nothing, right?

As for the changes, we were super excited to find out that my husband got a promotion! He's been working at a prison for the past 3 1/2 years and, in a few weeks will officially be a parole/probation officer which is what he's wanted to do since he was in high school. I just hope he loves it! At least his commute goes from 1 1/2 hours a day to 30 minutes a day and he can sleep until 6:30 instead of getting up at 5:00.

Also, I finally was able to open up an Etsy Store to put all my Random Craftiness creations in. I've only had it open for about a week but I've already made a sale so my hopes are pretty high. :)


There are also a few other changes going on but I don't really want to jinx them just yet. ;) Hopefully by the next Currently, I'll be able to share a few more!!

Katie

Sunday, August 25, 2013

Sum It Up Sunday

So, the school I teach at is encouraging teachers to do a classroom blog. My first reaction? Ugh, I already have one blog that I don't update NEAR as much as I should! But, after thinking about it for a bit, I decided that it would be uber-beneficial to the parents and the students so I decided that, when I do my end of the week newsletter, I'll just update the class blog at the same time. Plus, I can basically use that same post (or most of it) to sum up what we did and post it here! So, without further ado, here were a few things we did last week:

First of all, our science focus was on magnets. We did a fun activity where each child had a magnet, a clipboard, and a paper and were asked to go around the room and find things that their magnet would "stick to". They drew a picture of 6 different things on their paper (and wrote the name under if they could) before we came back together to share what we found.


The next day we talked about different types of magnets (horseshoe magnets vs. bar magnets) and made guesses at how long of a paperclip chain each magnet could hold. We recorded our guesses on the board, tried the experiment and determined that our horseshoe magnet held a longer chain making it the stronger of the two magnets!
 
 
Then we let them experiment on their own to see if they could make a longer paperclip chain than what we did as a class.


I never thought they would love magnets this much! I'm so happy we have next week to continue to explore with the magnets. Plus, if you would like to do some of the activities we did, you can find my Magnet Science pack here:


 For the last few weeks we have been learning about each other and what it means to be a good friend. A big part of that was how to work together as a team so, for art, we had the children work over the course of two days to make various colored handprints.

Yep, they had to trace their hands and cut them out themselves!

For the red, orange, and yellow hands, they even had to color them in!

Then they added their names and we put them together to form a huge class handprint rainbow!

For our special snack, we made self-portrait rice cakes. The children were given a rice cake, cream cheese, two raisins (eyes), a marshmallow (nose), a dried apple slice (mouth), and shredded carrots (hair).

It was definitely a challenge for some to spread the cream cheese but they got the hang of it very quickly.

And they were such hard workers!


The best part? They even tasted good!
 
 
Be sure to check back next week for more fun activities! Also, make sure to check out all the other fun going on in other classrooms at:


Katie Poyzer

Monday, August 19, 2013

Made it Monday Sight Word Mats

With the huge Back to School Sale going on over at Teachers Pay Teachers, I thought I would show you all my newest creation over in my store and remind you that there's only ONE DAY LEFT in the sale!

Now this set is the first in a series. I plan to make at least 3 more sets and will likely bundle them when I'm finished (so stay tuned!).

Using the 40 words from the Pre-primer Dolch word list, I created my Build, Write, Find, and Read Sight Word Mats. The pack included a work mat for each of the 40 words (with a version in color and one in black and white for each of the 40 words) and a set of ABC tiles in case you don't have a set already. Personally, I intend to print the color versions and laminate them so my kids can use them as work mats rather than printing and copying them for each child. However, if you would like to copy them off and save on ink, that's what the black and white version are for!

The best part is that, if you head over to my store now, they're on sale for $2.80 instead of $3.50! And while you're there, be sure to check out all the other wonderful TpT products that will be one sale until midnight tonight!


Finally, make sure to take a minute and check out some of the other great Made It Monday posts over at 4th Grade Frolics:

Thursday, August 15, 2013

It's the most wonderful time of the year...


Nope, it's not Christmas but, for teachers, it's almost as good... Back to School sale time at Teachers Pay Teachers! The sale starts this Sunday and, although the promo code (good for an additional 10% off at checkout) is only good on the 18th and 19th, I plan to have my whole store on sale until Tuesday.

My advice? Take some time to head over and check out your favorite stores and add your favorite things to your wishlist. Chances are, they will likely be on sale soon and then you're not spending 2 days straight looking through stores.

And to add to the fun, I'm linking up to Bunting, Books and Bainbridge's linky party to show you some of the best items in my shop:

 
You can click the picture to head over to my store and check out the items for yourself! While you're there, make sure to hit "follow" so you'll be notified whenever I add any new goodies! Plus, be sure to leave feedback for any of the products you purchase during the sale. Feedback give you TpT credits that you can use towards future purchases!!

Enjoy!

Sunday, August 11, 2013

Love a good maxi skirt!

So, I've recently come to the conclusion that I hate pants. Ok, maybe not hate but I'm starting to highly prefer skirts and dresses over pants or capris. Why you might ask? For one thing, I live in the desert (Arizona) and I'm not a big fan of thigh sweat (I know, crazy right?) and for another, knit is WAY more comfortable than any pants material. It's about the closest I can get to wearing yoga pants to work so why not?

Well, after doing a little online searching, I've come to realize that other people really like skirts and dresses too. So much so that a simple maxi skirt costs around $25-$30 if you want something even semi-cute. This is where my I-refuse-to-buy-something-I-could-make-myself mentality comes in. Why couldn't I make a simply long skirt with one of those super comfy fold-over yoga waists? I know the basics of sewing so why not?

My first step of course was to go to the local craft/fabric store and see if there was even anything that was remotely cute that I could use for a skirt. Of course they had lots of cute fabric (even chevron!) but not a whole lot in a knit (think stretchy t-shirt or yoga pants material). Just as I was about to give up, I saw it! It was a gray knit with thin cream horizontal stripes that were actually tiny crocheted scallops! I fell in love!

Of course being the procrastinator I am, I had to force myself to get some work done before I would allow myself to make what I knew would be an adorable skirt (no lack of self-confidence here!).

So after tediously prepping all of my classroom activities for next week, I felt I had fully earned the treat of sewing a skirt (did I mention I'm a little nerdy?).

I had pinned this great tutorial a while back from Delia Creates and used it as a general guideline. I knew I wanted a skirt that was wider at the base than the one in the tutorial so, instead of cutting a rectangle the width she recommended, I basically cut a rectangle that was the length of the skirt that I was going for. Then, I cut it into two like the tutorial and tapered it depending on my waist. This way I was using the full width of the fabric for the bottom of the skirt. It was all a bit of a challenge because (according to my Mom), I need a new needle. But I managed to make it work and this is what I came up with:

The piece worn as a skirt with the waistband folded over like yoga pants.

The piece pulled up and the waistband unfolded to create a bodice.
Nothing like 2 outfits in one!! I'm so excited to be able to wear this to work that I think I am actually eager to go to work on a Monday (see, there's more of the crazy coming out). I might just have to start making more clothes on the weekend if that's all it takes to get me excited about Mondays!

For more great Monday Made It posts, be sure to check out 4th Grade Frolics site:

Have a great week!
Katie

Monday, August 5, 2013

Ice Cream Buckets

Thanks for tuning in for this week's installment of Make It Monday! This week, I was posed with the task of making some sort of container for show and tell and the Playdough Club I had the parents sign-up for (they take turns making homemade playdough for the class to use). I decided I would use some old ice cream buckets we had sitting around. I found some adorable patterned duct tape and made a few labels (found here for FREE).
 

I simply chose a crappy pair of scissors (it will get a little sticky and I didn't want to ruin my good ones)...


Started taping up the sides leaving a little extra on the bottom...


(After all the sides are taped)


Cut slits in the extra part on the bottom...


And folded all the extra under.


For the playdough bucket, I needed a place to put a recipe. So I wrote "Recipe" and "Please return by: ____" on an envelope, laminated it, cut the top flap off, used a knife to cut right where I wanted the opening to be, and taped it to the inside of the lid. This way I can write the return date on the envelope with a Sharpie and still be able to erase it with a little fingernail polish remover.


(Finished envelope)


And that's it!

Make sure to check out the other awesome Make It Monday posts here: